Step by Step manual to Setup SciCat without Containers
Setup Backend
Mongo
The first part is to setup a Mongo DB, if not yet existing. You will need at least version 3.4 . In the simplest case a simple
yum install mongodb-server
(on RedHat systems) or similar will suffice.
A production ready setup however may require to setup a replicated DB server. Follow the Mongo DB Manuals in this case. E.g. at PSI we operate a 3 fold relicated Mongo DB server.
Remark for Windows
It is possible to run a SciCat development and test instance on Windows.
You can use the Chocolatey package manager: https://chocolatey.org/
choco install mongodb –pre
Chocolatey starts the mongodb service automaticly. The default port is 21017.
Install MondoDB Shell
choco install mongodb-shell
Hint to add full text indexing
Mongo DB needs to work with Indices to speed up the queries. All of these index definitions are created automatically, with one exception. This exception is described here: the following command must be executed after the database has been created in MongoDB, i.e. after starting the backend once.
Log into mongodb at the console, e.g. run
If not using Kubernetes
mongo dacat
in Windows cmd or powershell
mongosh dacat
or, if using Kubernetes
kubectl exec -it <mongo container> mongo dacat
and enter
db.Dataset.createIndex( { "$**": "text" } )
Note: If the index is not created as above, frontend e2e test fails.
API Server
Prerequisites
First you need to have node/npm installed
npm version 6 or higher
Node version 10 or higher
The needed database will be created automatically when the API server starts.
Get code
git clone https://github.com/SciCatProject/backend.git
cd backend
git checkout master # (or develop)
npm install
Please note: the master branch is often quite behind the development, therefore to get all new features you may want to use the develop branch instead.
Setup configuration
There are 5 configuration files that need to be adjusted to your situation. There are example configuration files for each of the 4 configuration files inside the server directory
functionalAccounts.json: defines the functional accounts, such as admin, ingestor etcdatasources.json: defines the connection to the Mongo DB -sample datasources.jsonproviders.json: defines the authentication source for user accounts, e.g. how to link to your local LDAP/AD serverconfig.local.js: defines the API server details, API root address, your local site name and policy settings for , the PID prefix for your datasets, the type of message broker to use, the connection to an email send server etccomponent-config.json: defines the Express framework components, in particular if the explorer is enabled and optionally definition of the RabbitMQ topology, if used.
Adjusting these settings to your infrastructure should be straight forward. In case you do not understand a setting just leave it at its default.
Note for Windows
Create an .env file based on .env.example and use 127.0.0.1 instead of localhost
MONGODB_URI="mongodb://127.0.0.1:27017/dacat"
Email Notifications
When jobs have been submitted successfully, the node-mailer package can send an email to the user that initiated.
The details are loaded into server/config.local.js and the following block provides an example:
smtpSettings: {
      host: 'HOSTPATH',
      port: 587,
      secure: false,
      auth: {user: DOMAIN\\USER', pass: 'PWD'}
    },
    smtpMessage: {
      from: 'gac-dacats@psi.ch',
      to: undefined,
      subject: '[SciCat]',
      text: undefined // can also set html key and this will override this
    }
Start metadata server
npm run start
Test functionality
npm run test
You can in addition test the API server using the "explorer", e.g if you run the instance locally point your browser to https://localhost:3000/explorer (note the explorer might be disabled for production environments, check the component-config.json file)
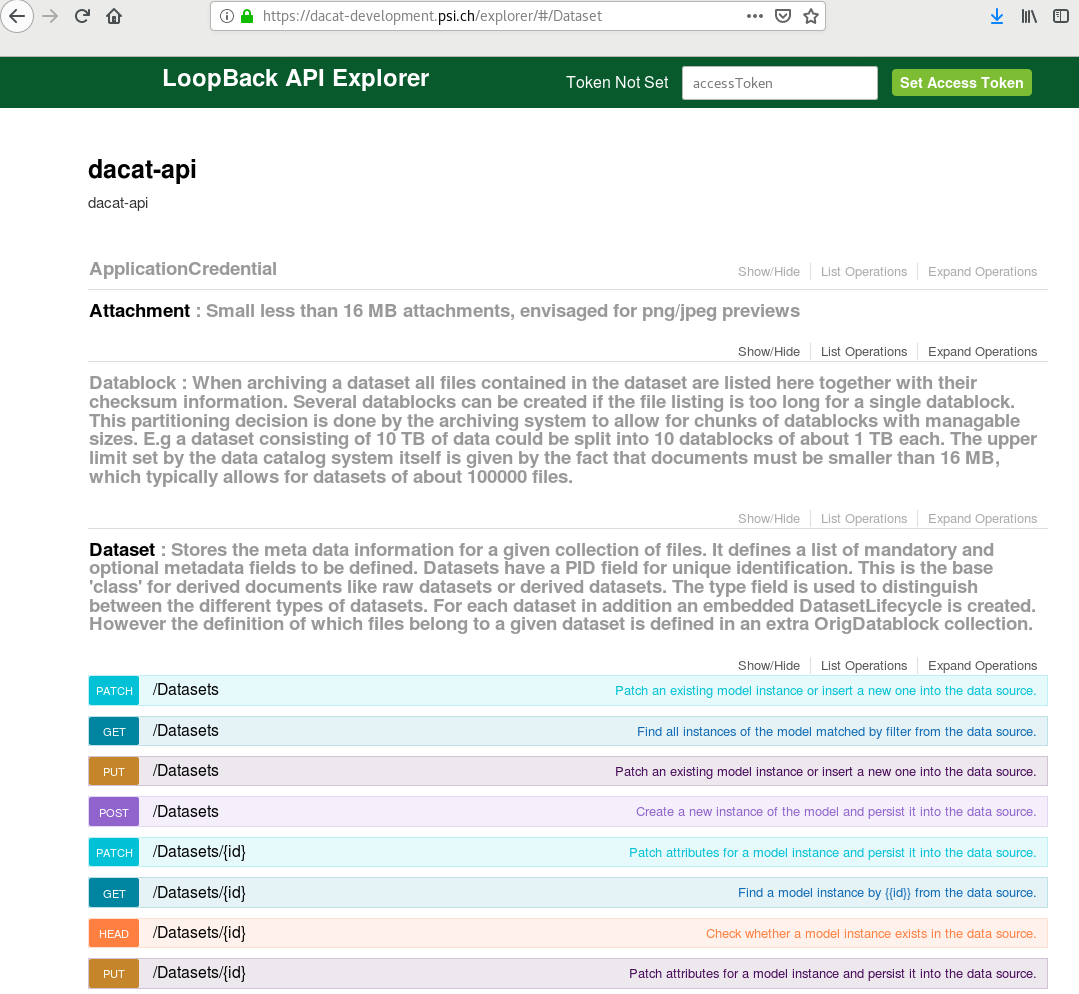
You can use this web interface to test all the available API end points. If you test endpoints, which are protected by authentication, you need to set an accessToken field on top of the explorer web page. You can login in frontend web UI and find the token under "username->settings".
Setup GUI frontend
These instructions will get you a copy of the project up and running on your local machine for development and testing purposes. See deployment for notes on how to deploy the project on a live system.
Prerequisites
What things you need to install the software and how to install them
Angular v8 or higher
npm version 6 or higher
node version 10 or higher
Installing
Use git to clone the repository
git clone https://github.com/SciCatProject/frontend
cd frontend
First install the required modules
npm install
Then build with the Angular CLI
npx ng build
You can deploy a test server with the following command:
npx ng serve
Running the unit tests
To run the unit tests, type:
npm test
End to end tests
To run the end to end tests, type:
npm run e2e
Configuration
You can fine tune the features that you want to use in the GUI by setting the flags inside the src/environments folder. In this folder you find several example configuraion files used by the Sites. Please adjust to your needs. The angular.json file contains a section "configurations" which defines a set of prepared configurations, that you can choose from. This defines which files will be picked up at build time. The build system defaults to the environment.ts, but if you e.g. do ng build --env=development then environment.development.ts will be used instead. Here is an example configuration file
The most important configuration setting is the connection to the API server
lbBaseURL: "https://your-loopbak-api-server",
Many of the other settings are boolean flags, which allow you to switch on/off features of the GUI Again, if in doubt, just leave the setting as defined in the available example environment files or leave them empty.
Optional Extras
Connecting to RabbitMQ
Some extra configuration needs to be done in order to get Scicat talking to RabbitMQ. The rabbitmq mechanism is used to trigger asynchronous jobs through the archive and retrieve methods.
Setting up RabbitMQ
When using RabbitMQ with Scicat it needs to be configured initially, before the rest of the Scicat services are run. It must be set up with a user before the backend is started, otherwise the backend cannot connect. It is easy to set up a local rabbitmq server as a separate service before starting Scicat through docker compose. A basic docker compose for rabbitmq looks like:
version: "3.8"
services:
  local-rabbitmq:
    hostname: local-rabbitmq
    image: 'bitnami/rabbitmq:latest'
    labels:
      kompose.service.type: nodeport
    ports:
      - '4369:4369'
      - '5672:5672'
      - '25672:25672'
      - '15672:15672'
    volumes:
      - 'rabbitmq_data:/bitnami'
volumes:
    rabbitmq_data:
      driver: local
This set up gives you both a rabbitmq service and a Management Portal which can be useful for debugging. Before connecting to the backend or the Management Portal a user with administration privileges needs to be configured manually which can be done via CLI. To understand more about setting up rabbitmq please see the documentation at https://www.rabbitmq.com/cli.html. If you have followed the set up with docker, the following commands can be executed in the docker container to set up initial users and the management portal.
# To add the management plugin
rabbitmq-plugins enable rabbitmq_management

#to add a user
rabbitmqctl add_user <username> <password>
rabbitmqctl set_user_tags <username> administrator
rabbitmqctl set_permissions -p / <username> '.*' '.*' '.*'
Once this is done you can log into the Management Portal hosted at http://localhost:15672. Any other users, exchanges , queues etc. can be configured manually.
Connecting Scicat to RabbitMQ
The backend handles the connection to rabbitMQ through the component-config.local.json file. The backend will set up all the relative queues and exchanges in a running service, but the service must contain a user with administrative privileges before running the backend. A basic rabbitMQ set up in the component-config.local.json file looks like the following:
"topology":{
"connection":{
"uri":"amqp://my-admin-user:newpassword@local-rabbitmq" # the uri of your service with your administrative user
},
"exchanges":[
{
"name":"jobs.write",
"type":"topic",
"persistent":true
}
],
"queues":[
{
"name":"client.jobs.write",
"subscribe":true
}
],
"bindings":[
{
"exchange":"jobs.write",
"target":"client.jobs.write",
"keys":[
"jobqueue"
]
}
]
}
}
The exchange and the binding key must be named jobs.write and jobqueue respectively, the queue name can take any value.
The backend expects and exchange called jobs.write to publish jobs messages to bound with that key.
Use in Practice
If you wish to have two Scicat services connecting to the same RabbitMQ server (e.g. scicat-dev and scicat-prod) you
could generate two queues bound to the jobs.write exchange. However these would be bound with the same key that
could cause cross talk. RabbitMQ allows you to set up any number of virtual hosts within the same server therefore it is
best to set up two vhosts (e.g. dev and prod) with the exchange, queues and bindings set as in the component-config.local.json file above.